Exactly How to Master Product Photography
What we're speaking about
Product photography, or ecommerce photography as it's sometimes known, is basically what it seems like: photos taken and also used on websites and also social media sites systems to help drive sales of your product and services. Given the rise of shopping online, the option of items and brands available to consumers in any kind of offered classification can be large-- implying the pictures that illustrate what you're marketing and why it's worth buying are a basic facet for any kind of company selling online.
Why it's important
There's far more to product photography than showing possible customers what your product appears like. Well-considered images can put your product in context, helping a consumer see just how it may fit into their very own life. Actually, scientists discovered that vibrant and also detailed images of a product increases a customer's psychological sense of possession of that product. Photography can also aid boost your brand name, reinforcing what you represent and also what you're all about. All of these things enhance the likelihood of motivating a acquisition.
Taking pictures that supply context as well as develop your brand doesn't always require a great deal of elegant tools or a professional digital photographer-- though those 2 things can aid. You just need to think through your goals when it pertains to photography and also invest a long time as well as energy into bringing those suggestions to life.

Things to keep in mind
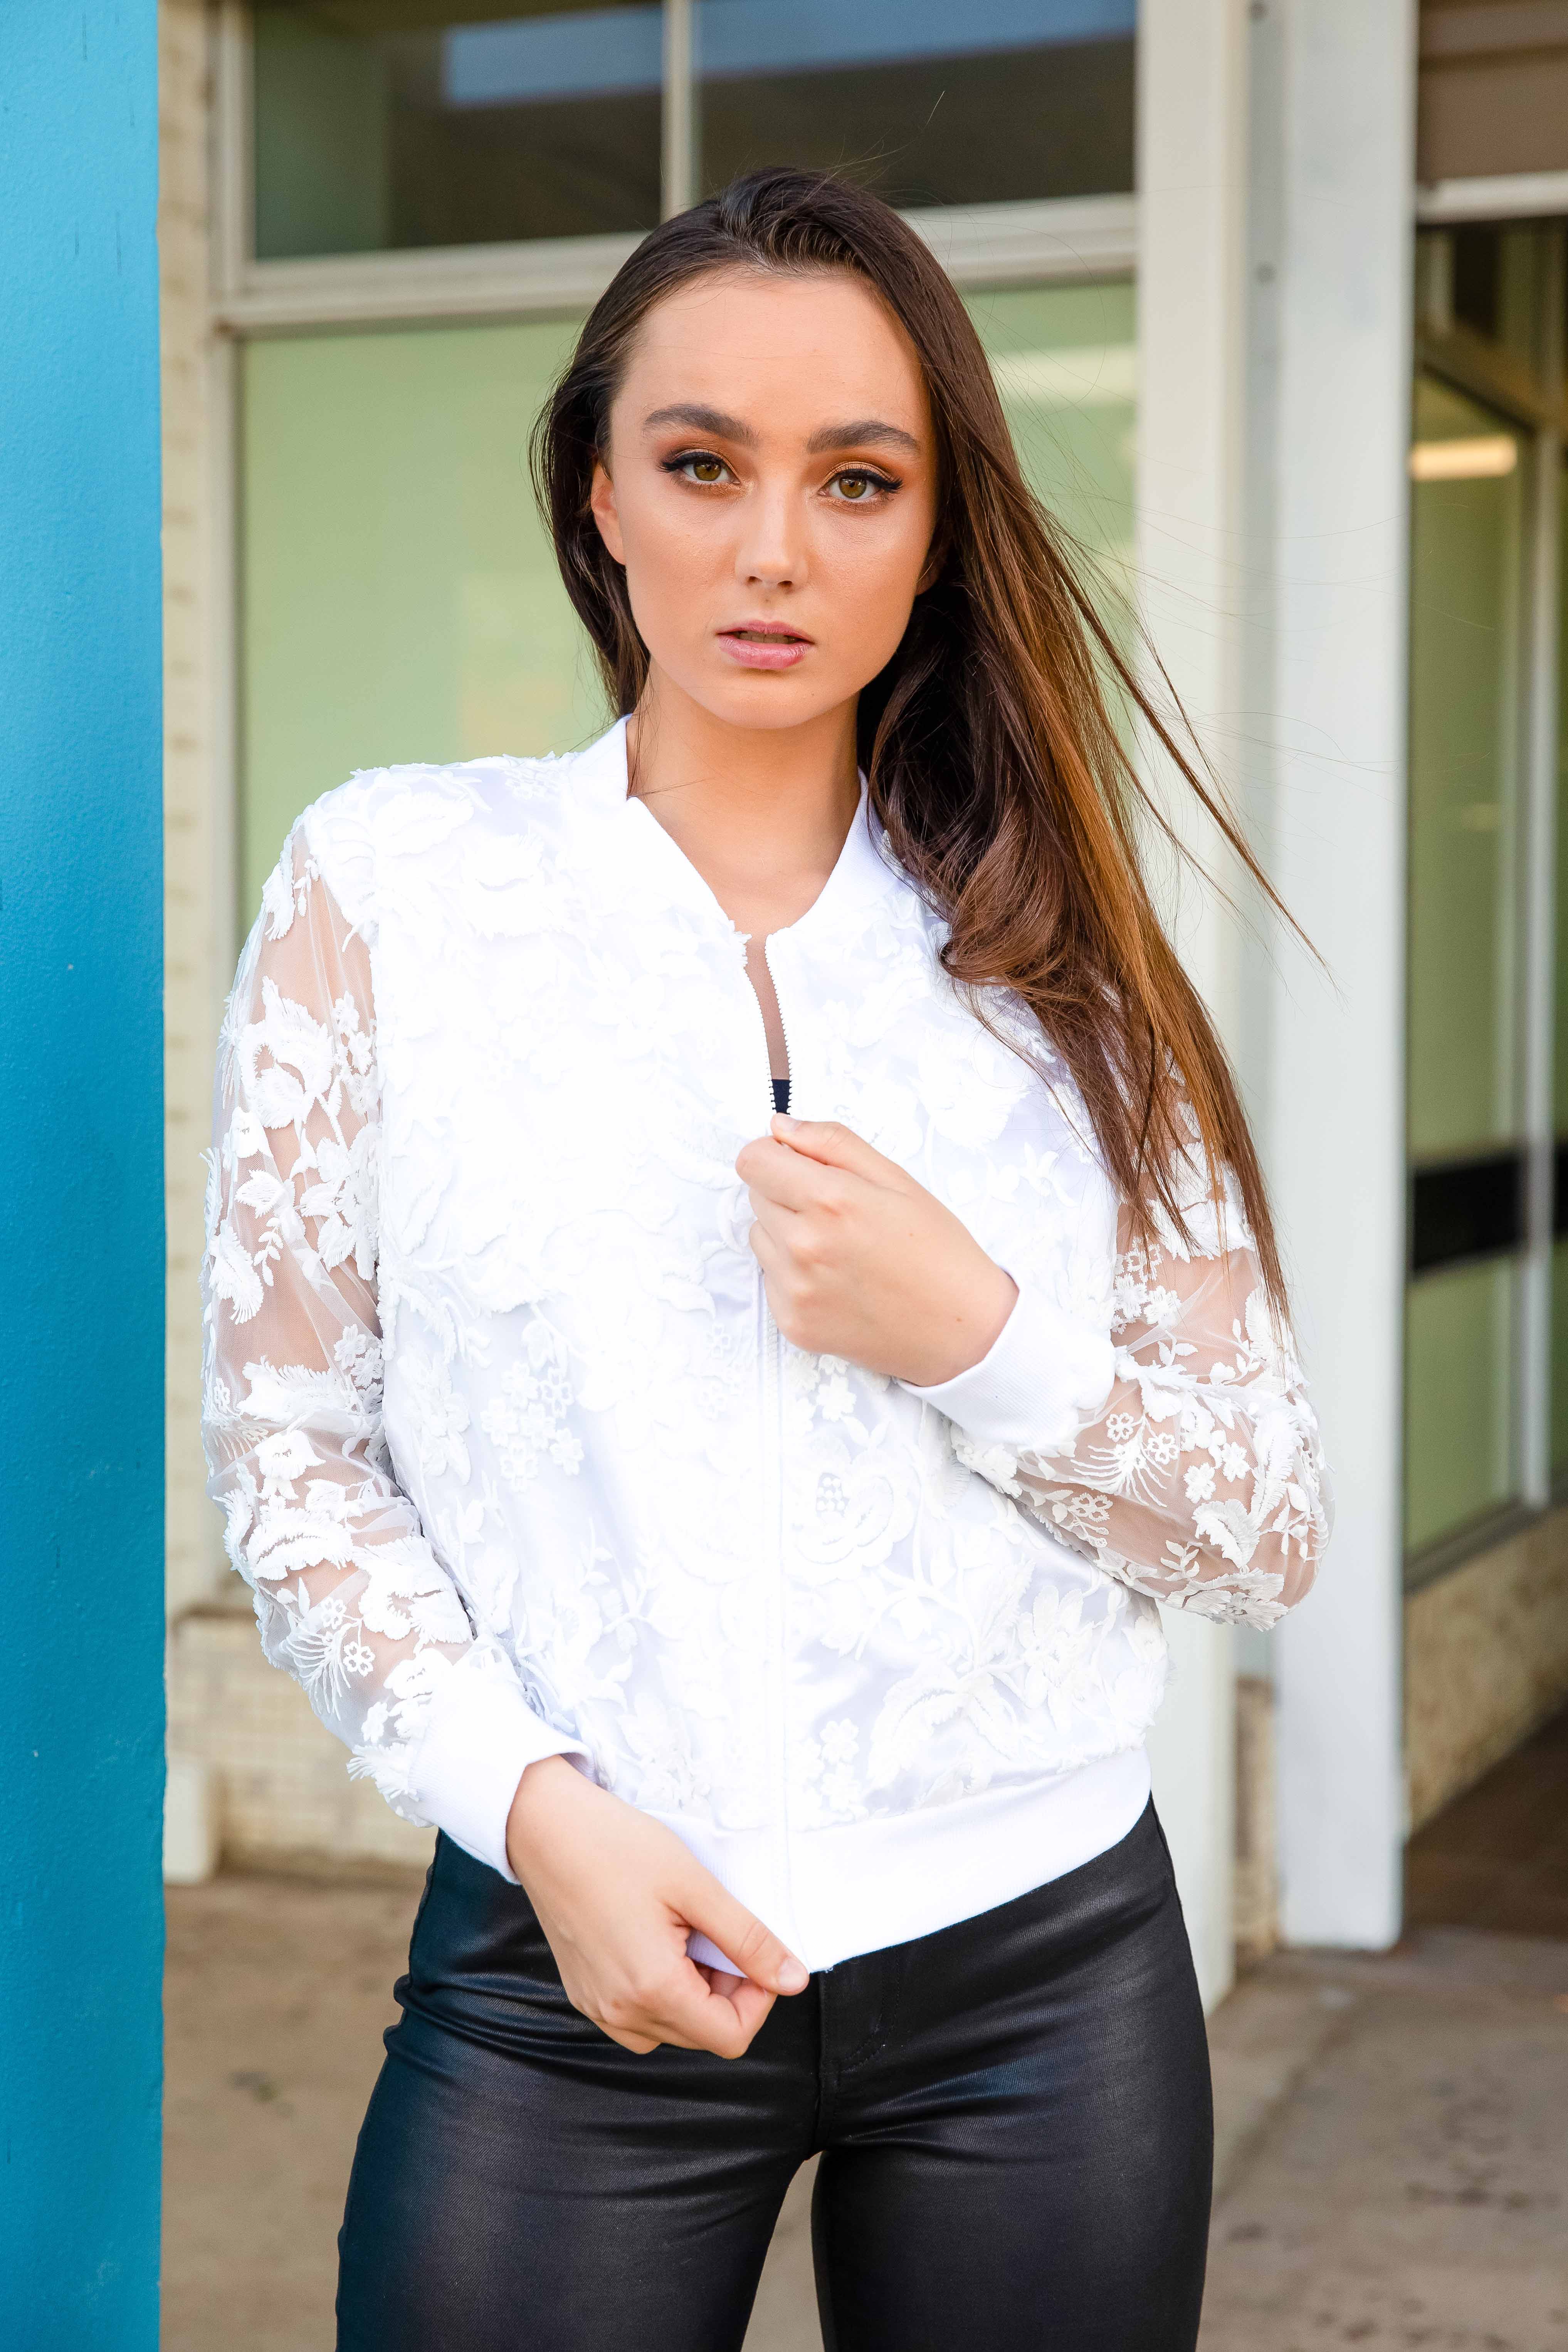
Various types of photos offer different purposes. One photo does not fit all. For simply one product you could require several photos: standard product shots on a white background to utilize on markets; branded product shots to use on your own site or social channels; way of life shots that reveal the product in use or in an aspirational setting; detail shots that record crucial elements or features you wish to highlight; as well as behind the curtain images that record the process behind the product.
Focus on your lights. Lights, not the camera, is what will certainly make or break an image. If you do not have a lot of elegant gear, you're going to intend to collaborate with all-natural illumination, so discover a area near a large home window to fire and wait up until the brightest time of day. Diffused lights ( also known as soft as well as also) is the goal, and also to prevent extra-bright places or super-dark darkness you can utilize white foam board from your regional art shop to reflect light onto your product.
Consistency is key. To see to it all your products are related to your brand, ensure the method you picture them is reasonably consistent. All your product images must be shot from the very same angle and range, and all way of life shots must have a comparable tone and also colour scheme. Consider what you want to achieve below, and as soon as you handle it, try to make sure other photos you absorb the future appearance similar.
You don't need a professional to take pro shots. Certain, a fancy DSLR camera as well as seasoned eye will make obtaining lovely product pictures much easier, yet you can still reach a great location doing it yourself with a little focus to detail and also some fundamental devices. Use the most effective video camera you have handy (this could be on a smartphone, which is absolutely great), a tripod to maintain things consistent, some basic poster board or huge sheets of paper to make use of as backgrounds as well as white foam board to diffuse as well as you'll be a in a suitable starting setting to get some excellent shots.
Exactly how to fire images of your product
1. Make a mood board. Don't skip this step. Take some time to gather photos that record the look you want to reproduce in your images. Research study the angles made use of, the props in position and the colours and also tones of the images that motivate you and seek patterns in the things you're attracted to. The notes you make right here will aid you decide what to go for when styling and also shooting your very own photos.
2. Decide what you require. Make a list of all the images you want for every product. At minimum, this must possibly consist of a few easy product shots (that show the product from various crucial angles) on a neutral background; some more enjoyable product shots that align better with your brand; and also way of living shots to place the product in context for your customer.
3. Set the scene. Perfect your established on shoot day. Select a time of day when you have access to natural light and also set up your area ( possibly a table near a big home window) with history documents and also props as needed. You can make use of Blu Tack or tape to maintain things ready-- require time to make certain the set up helps your photos.
4. Take as well as retake photos. Time to shoot! It will most likely take several tries to obtain the shot precisely right, so do not hesitate to take several images of the very same arrangement at the exact same angle. Make certain to stop as well as inspect to see what the pictures look like and also take notice of the information. Is the lights also or are any type of key features covered by darkness or highlights? Exist any type of disturbances within your structure that might not be able to be modified or cropped out later on? Ensure you capture all the shots you noted out when planning your photoshoot.
5. Make edits and selections. Experience all the photos you took and choose a couple of pictures of each kind for each product that function the very best. Narrow down the ones you plan on utilizing to display your product online, after that make edits to assist all the pictures look regular. Once again, no pro abilities necessary-- fundamental software application on your phone or computer can aid chop out disruptive elements and readjust points like contrast and direct exposure to assist see to it the product is illustrated plainly.
6. Optimize photos for the internet. Prior to utilizing your pictures online, ensure they are sized appropriately-- both in terms of element ratio (the percentages of the photos) and also resolution ( the number of pixels produce the image) for the platform you're uploading on. Different social media platforms or website designs often utilize different sizes and also https://pastelink.net/69otaclk specs (check out this useful cheat sheet). You'll need to see to it the photo is of good-enough quality so it isn't fuzzy, yet has a small enough data size to make it pack promptly. Ultimately, ensure photos are named descriptively, so https://arnhedjgdk.federatedjournals.com/14-product-photography-tips-to-make-you-look-like-a-pro/ internet search engine can bring them up when people look for products like the ones visualized in your photos.
Trick takeaways
• You'll desire a few different styles of pictures for each and every of your products-- there are most likely to be several objectives you'll require your photography to satisfy.
• You can DIY excellent product images with some fundamental package: a tripod, a good smart device and also some basic paper histories and also props.• Lighting is key-- shooting near a home window at a brilliant time of day can make a large difference.